Compatibility
Find compatibility on the product page!
Unboxing
Installation
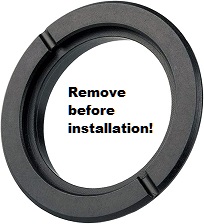
- Remove eye cup adapters (A3256354) from your diopter lens. Neglecting to do so will damage your NVGRA’s lens upon attempted installation.
-
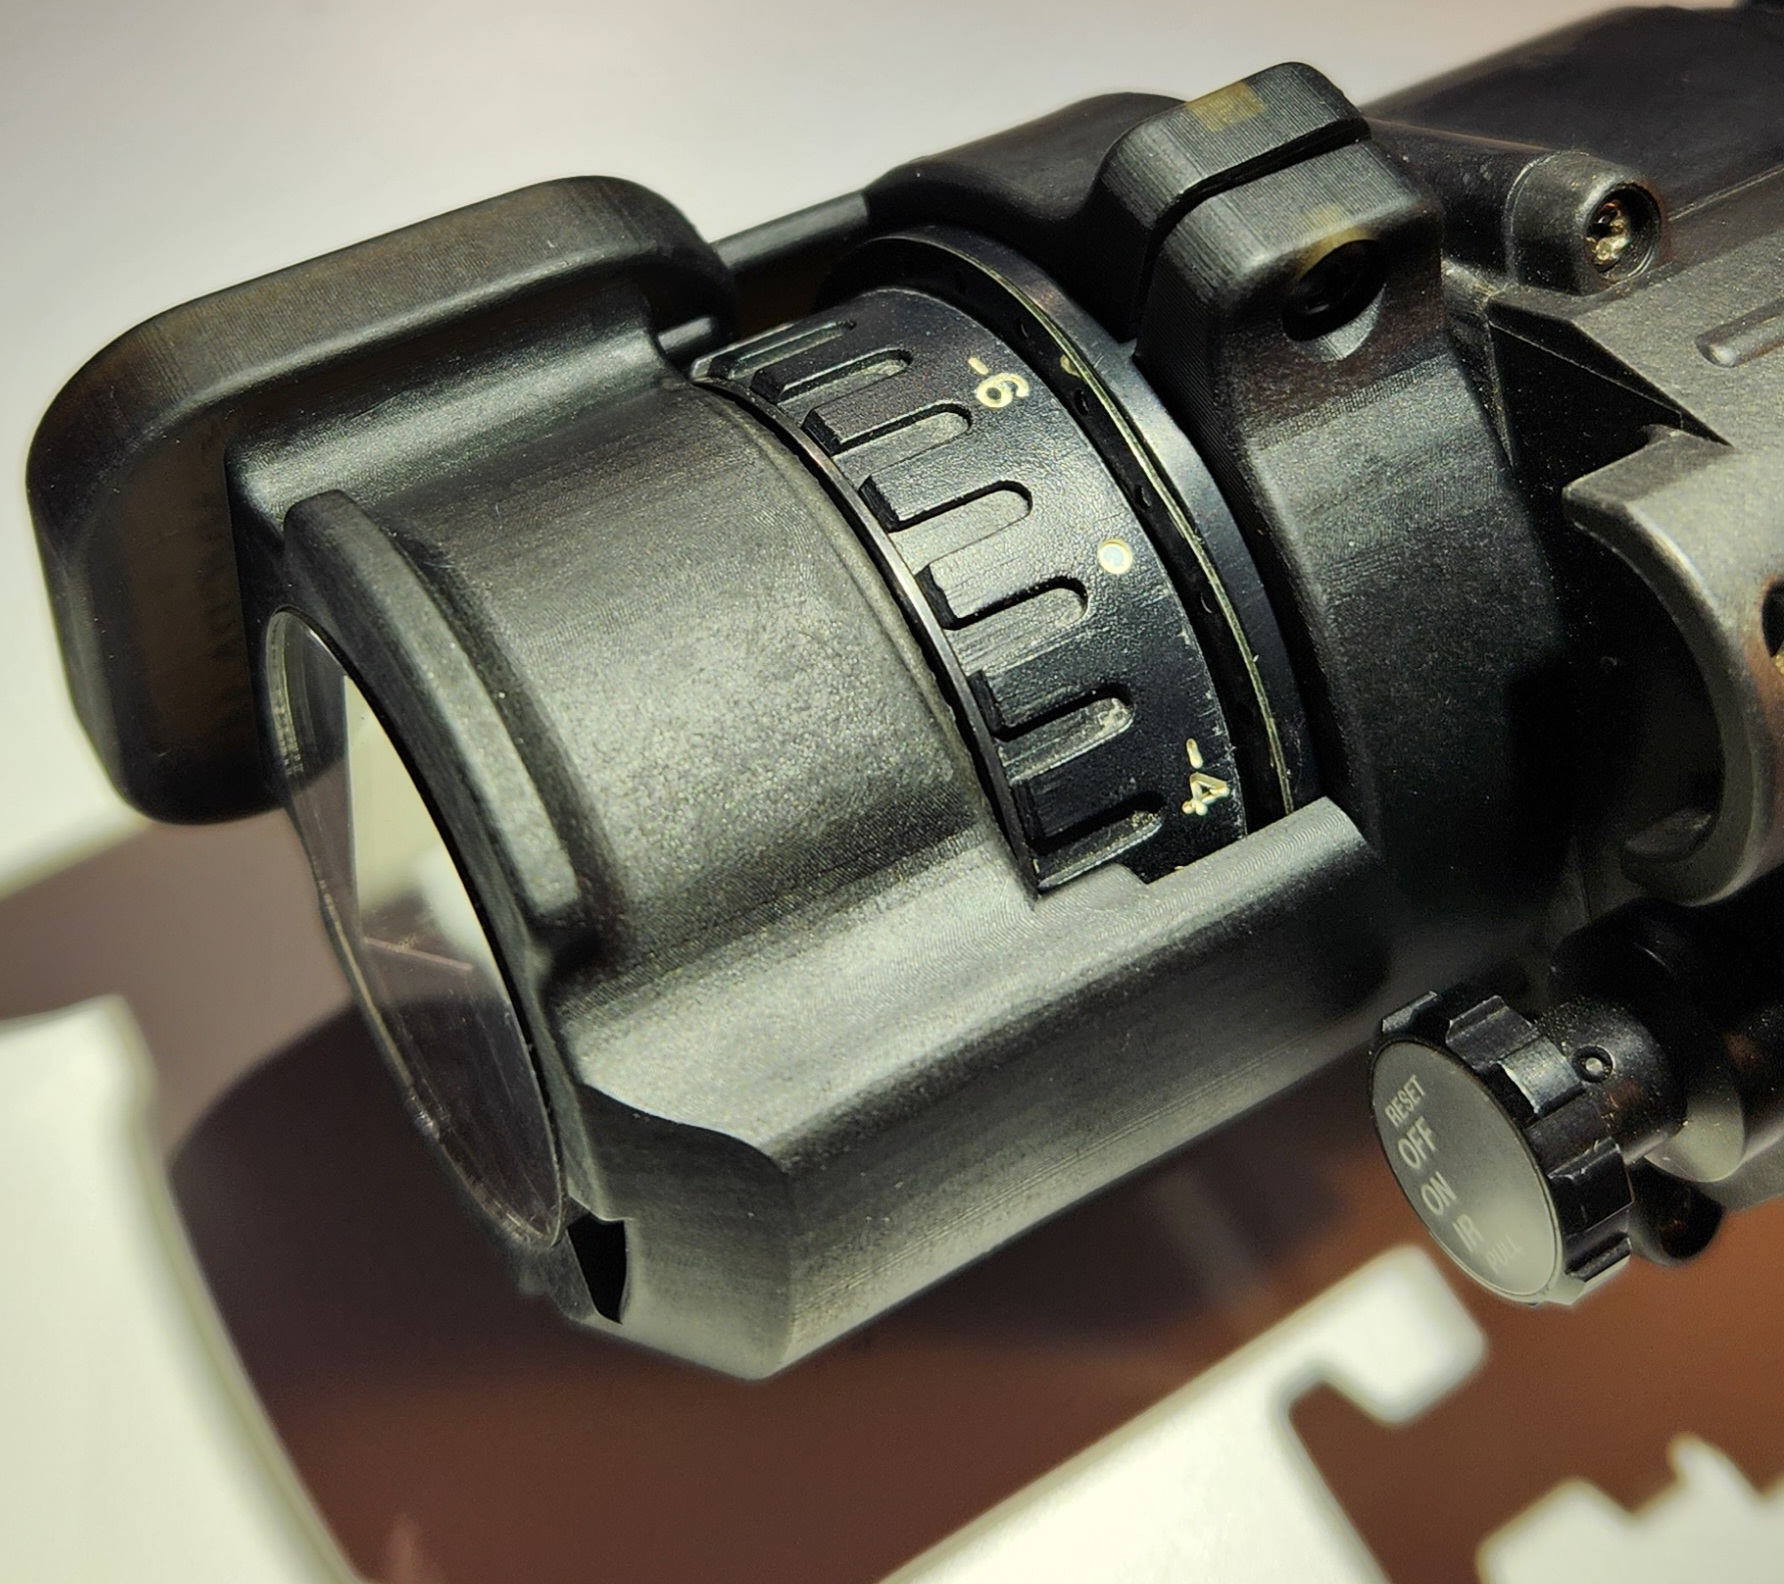
Loosen the NVGRA’s clamp screw to enable sliding onto the diopter lens
-
Gently slide NVGRA onto diopter lens, observing a gentle fitment of the beam splitter into the diopter lens.
-
Tighten NVGRA’s clamp screw with “finger tight” force until NVGRA fits snuggly. Overtightening with brute force may damage the NVGRA.
-
Install GoPro into camera cup and strap tightly.
-
Go!
Use
-
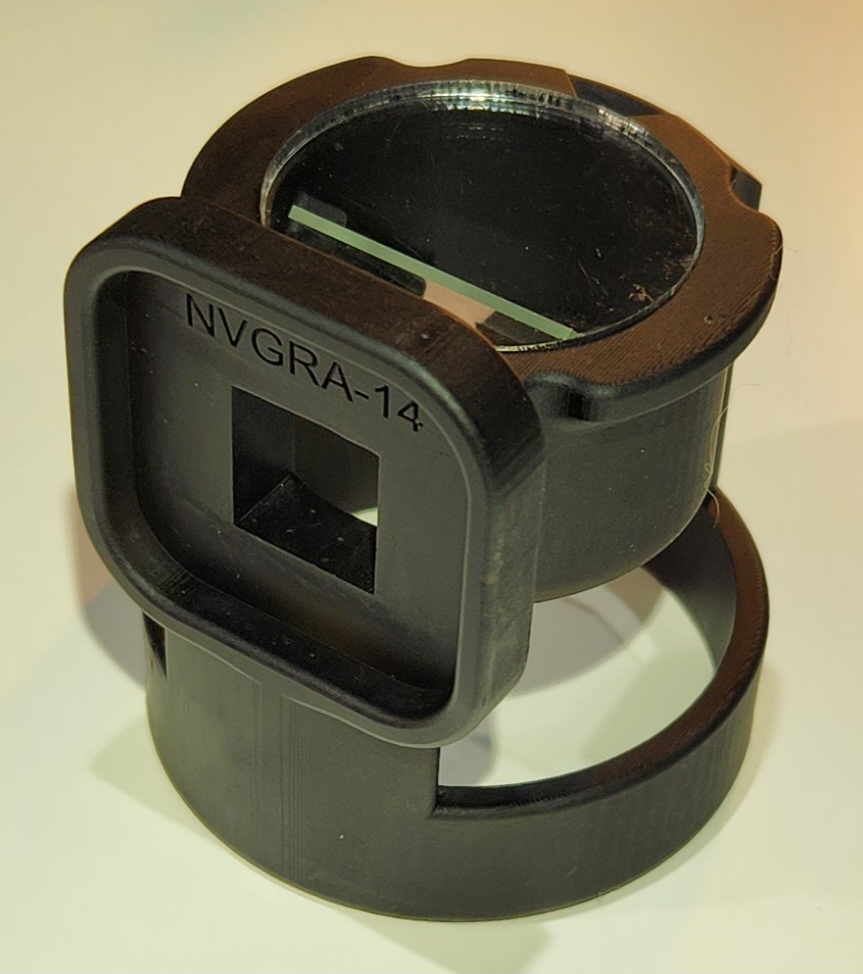
Always use the NVGRA with sacrificial lens installed. It both protects and retains the more fragile beam splitter.
-
Adjust your NVGs to fit your face & eye protection with the NVGRA attached.
- The NVGRA is compatible with any shooter glasses & NVG-compatible goggle.
- The NVGRA will not fit between large goggles and your face.
- Example: ESS Profile NVGs work, but any military friendly shooters glasses will provide a superior user experience, to include a full NVG sight picture.
-
(Optionally) Disable the blinking LEDs on your GoPro unless you want to get you and your buddies killed in a force on force scenario.
-
Users resting their helmets w/ NVG & NVGRA attached in precarious positions are tempting fate. Always maintain positive control of your equipment.
-
Remember, the NVGRA & GoPro are just as rugged or fragile as your NVGs!
Disassembly & Cleaning
-
Avoid touching the beam splitter & sacrificial lens on their faces to prevent smudges. Touch instead on their edges or wear surgical gloves.
-
Pry the sacrificial lens from its friction fit with a pocket knife via the channel cutout.
-
Optionally, clean the beam splitter in-place with q-tips or a lens cloth.
-
Optionally, remove the beam splitter by gently pressing it out with a gloved thumb in the direction of the lens track. Do so in a clean environment and do not drop the beam splitter!
-
Wash sacrificial lens & (optionally) beam splitter with soapy water. Do not rub dry, this will scratch them. Pat them dry.
-
(Optionally) First, ensure the beam splitter track is clean and free of debris. Reinstall the beam splitter by sliding inward along the lens track. Remember, the beveled lens edge faces outward to avoid the inside edge of the diopter lens housing.
-
Ensure beam splitter is fully seated into lens track and clears the sacrificial lens prior to pressing the sacrificial lens into position.
-
The sacrificial lens only fits correctly one direction. The design leverages the curf of the laser that cuts it to provide a friction fit. If it does not gently seat, flip it over and see if the other side seats more gently. Now install the sacrificial lens by pressing it into position with your thumb. The lens does not need to be fully flush, but should be close to flush.
- If you feel that your beam splitter track is a little stiff, watch this video for tips before pressing more!
Storage
-
The provided container will prevent dust from accumulating on lens surfaces when not in use.
-
The NVGRA can be stored attached to your NVG, but equal or better protection should be provided by your chosen storage method.
-
Soldiers have broken their NVGRAs by leaving them on their helmets in vehicles. A falling helmet, NVG, & NVGRA will be subject to rapid disassembly when they hit concrete or the insides of MRAPS.